I took epic Milky Way photos, here's what I learnt

Last month, in September 2023, I went for an astrophotography trip. That experience is one of the contenders for the best moments in my photography journey.
The trip was part of Sony Malaysia's workshop Milkyway Photography 101. It costs RM 400.00, roughly USD 85.00. I would say it's cheap for a 3-day, 2-night trip. On top of that, Sony included 2 workshops before and after the trip, aptly named "Planning" and "Editing" workshops.
As usual, every Sony workshop is led by their appointed Sony Alpha Guru. The instructor that Sony brought with us this time is Grey Chow, an award-winning travel photographer based in Kuala Lumpur, Malaysia.
This post is a recollection of what I learned in my first-ever photography trip.

The 3 stages of Milky Way photography
- Planning
- Shooting
- Editing
- Publish (bonus)
Planning
I only gave a little thought whenever I looked at Milky Way photos before. I thought, "Oh cool, some guy went out on some night and took photos of the sky."
What I don't know is how much planning that goes into getting that shot.
I am not going to bog you down with details, but here is the list of what we need to prepare:
- Calculate the Moon Phase
- Finding a location with little light pollution
- Looking up the weather forecast
- Planning the trip - transport, food and accommodation (as needed)
- Camera gears - camera, lens, and tripod (these are the minimum requirement)
- In general, use a camera with manual control and high ISO
- A lens with a wide focal length and aperture (lower f-number)
- Safety gear - Headlight, flashlight, proper attire (shoes and outfit)
So now I know it's not like, "Hey, let's go out to take star photos tonight." 😂
It's especially important for us to plan properly since we're travelling 6 hours away to get to the shooting location. We travelled from Kuala Lumpur to Mersing, Johor.
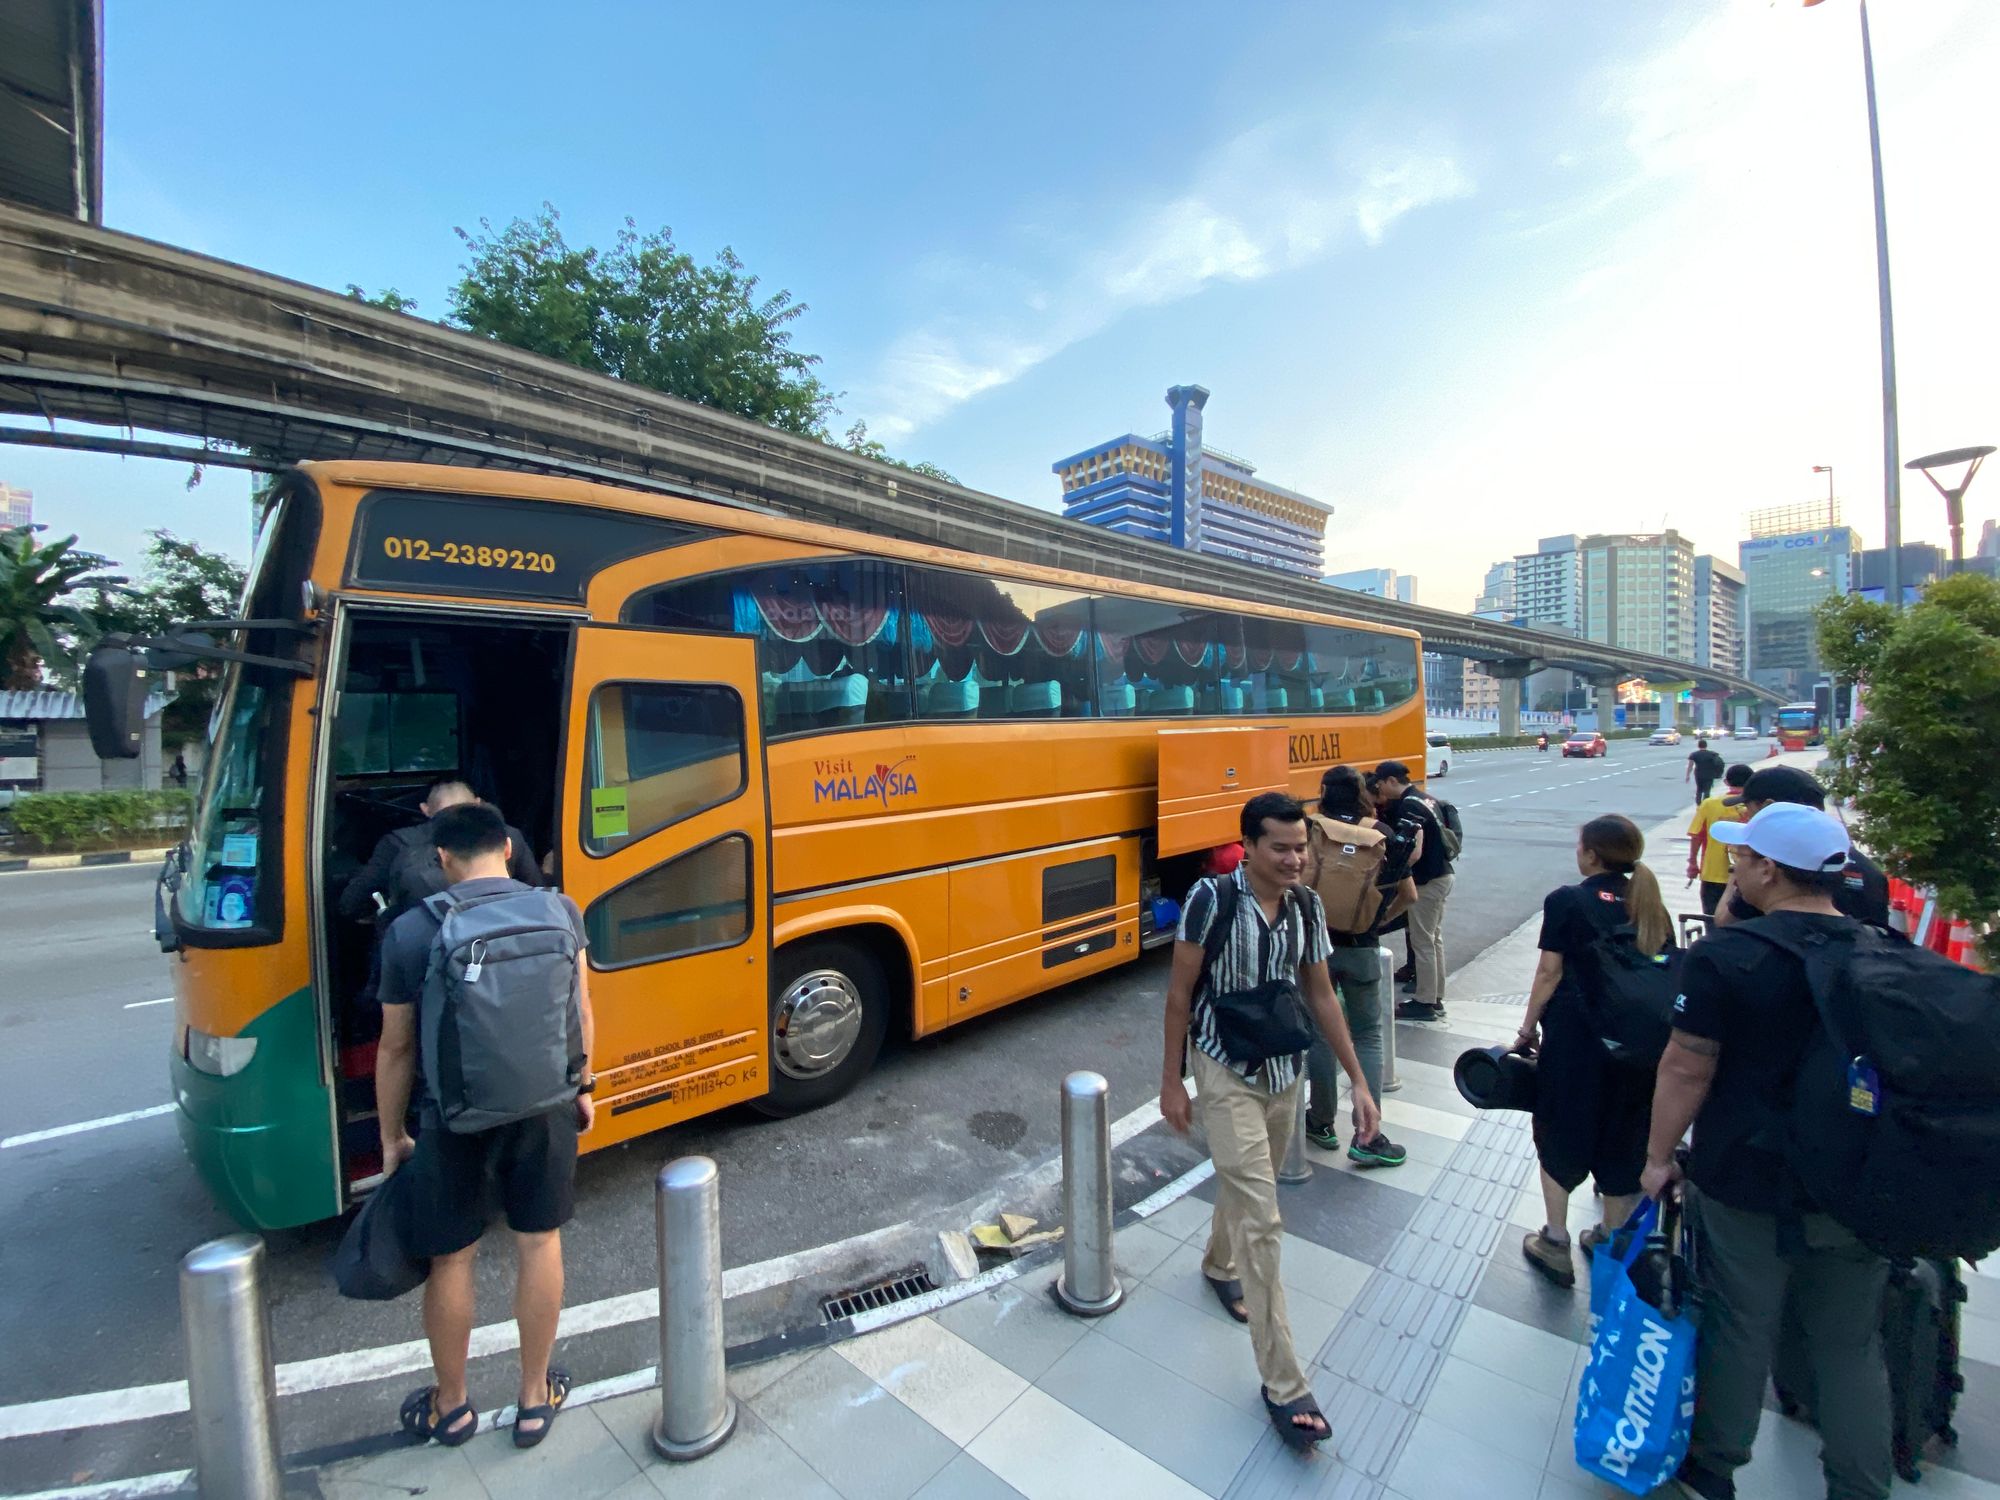
To sweeten up the travel, we were surprised with a school bus as our ride. Oh, the nostalgia.
Shooting
We were taught about camera settings in the planning session since many of us were first-timers regarding Milky Way photography. Some important ones:
- Shoot in manual mode
- Shoot in RAW
- Auto white balance
- Use manual focus
- Using the 500-rule
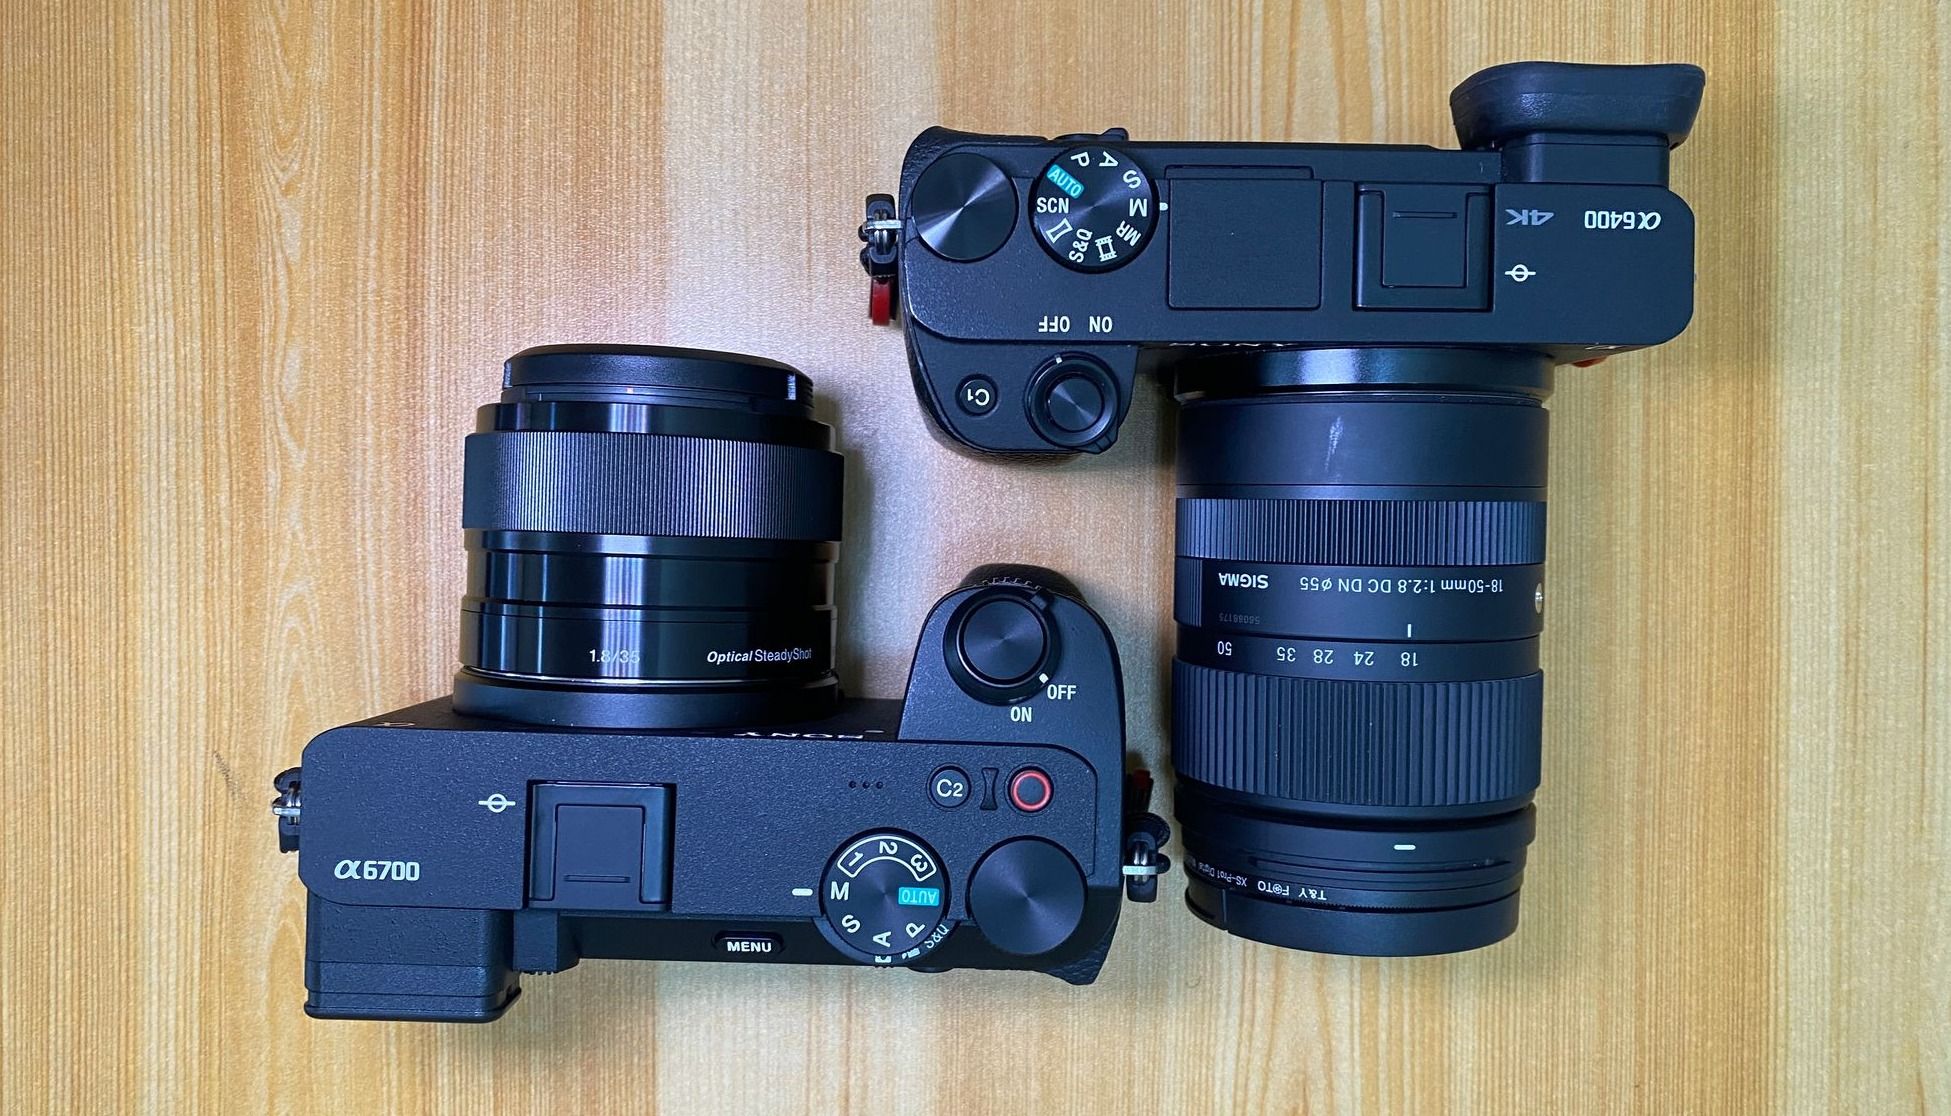
I used my brand new Sony a6700, coupled with the Sony E 11mm f1.8 lens loaned to me by Sony. It's a cropped sensor camera, but it works just as well.
One thing that I found out is that astrophotographers already know how they will edit their photos while they are shooting.
Here's what I mean by photographers knowing how they will edit:
- At our location, campers had their bright spotlight pointing almost towards us, causing severe light pollution. We were advised to take multiple photos with various exposure steps so to save it later using the exposure recovery method.
- At another location, we took multiple photos of the same settings, with stacking in mind for the editing process.
- We also took light painting photos of the foreground, which we can use later to stack and blend with the Milky Way.
These opened my eyes to the whole "shooting with the end in mind" mindset that many photographers (and creators) have.
Editing
We are far from done, even after we took great photos. We want to make them spectacular!
A week after the trip, we had an editing session.
I appreciate Sony a lot for including an editing session for this workshop. I have joined too many workshops that only do photoshoots but left out the other 50% of photography, the editing.
For the session, we were encouraged to try our hands at editing first, and Grey commented and gave us feedback.
He then proceeds to walk us through his editing techniques. Stacking denoise, AI denoise, and blending, he showed us that there are many ways to edit them. Among the tools he used were Adobe Lightroom, Photoshop and Sequator.
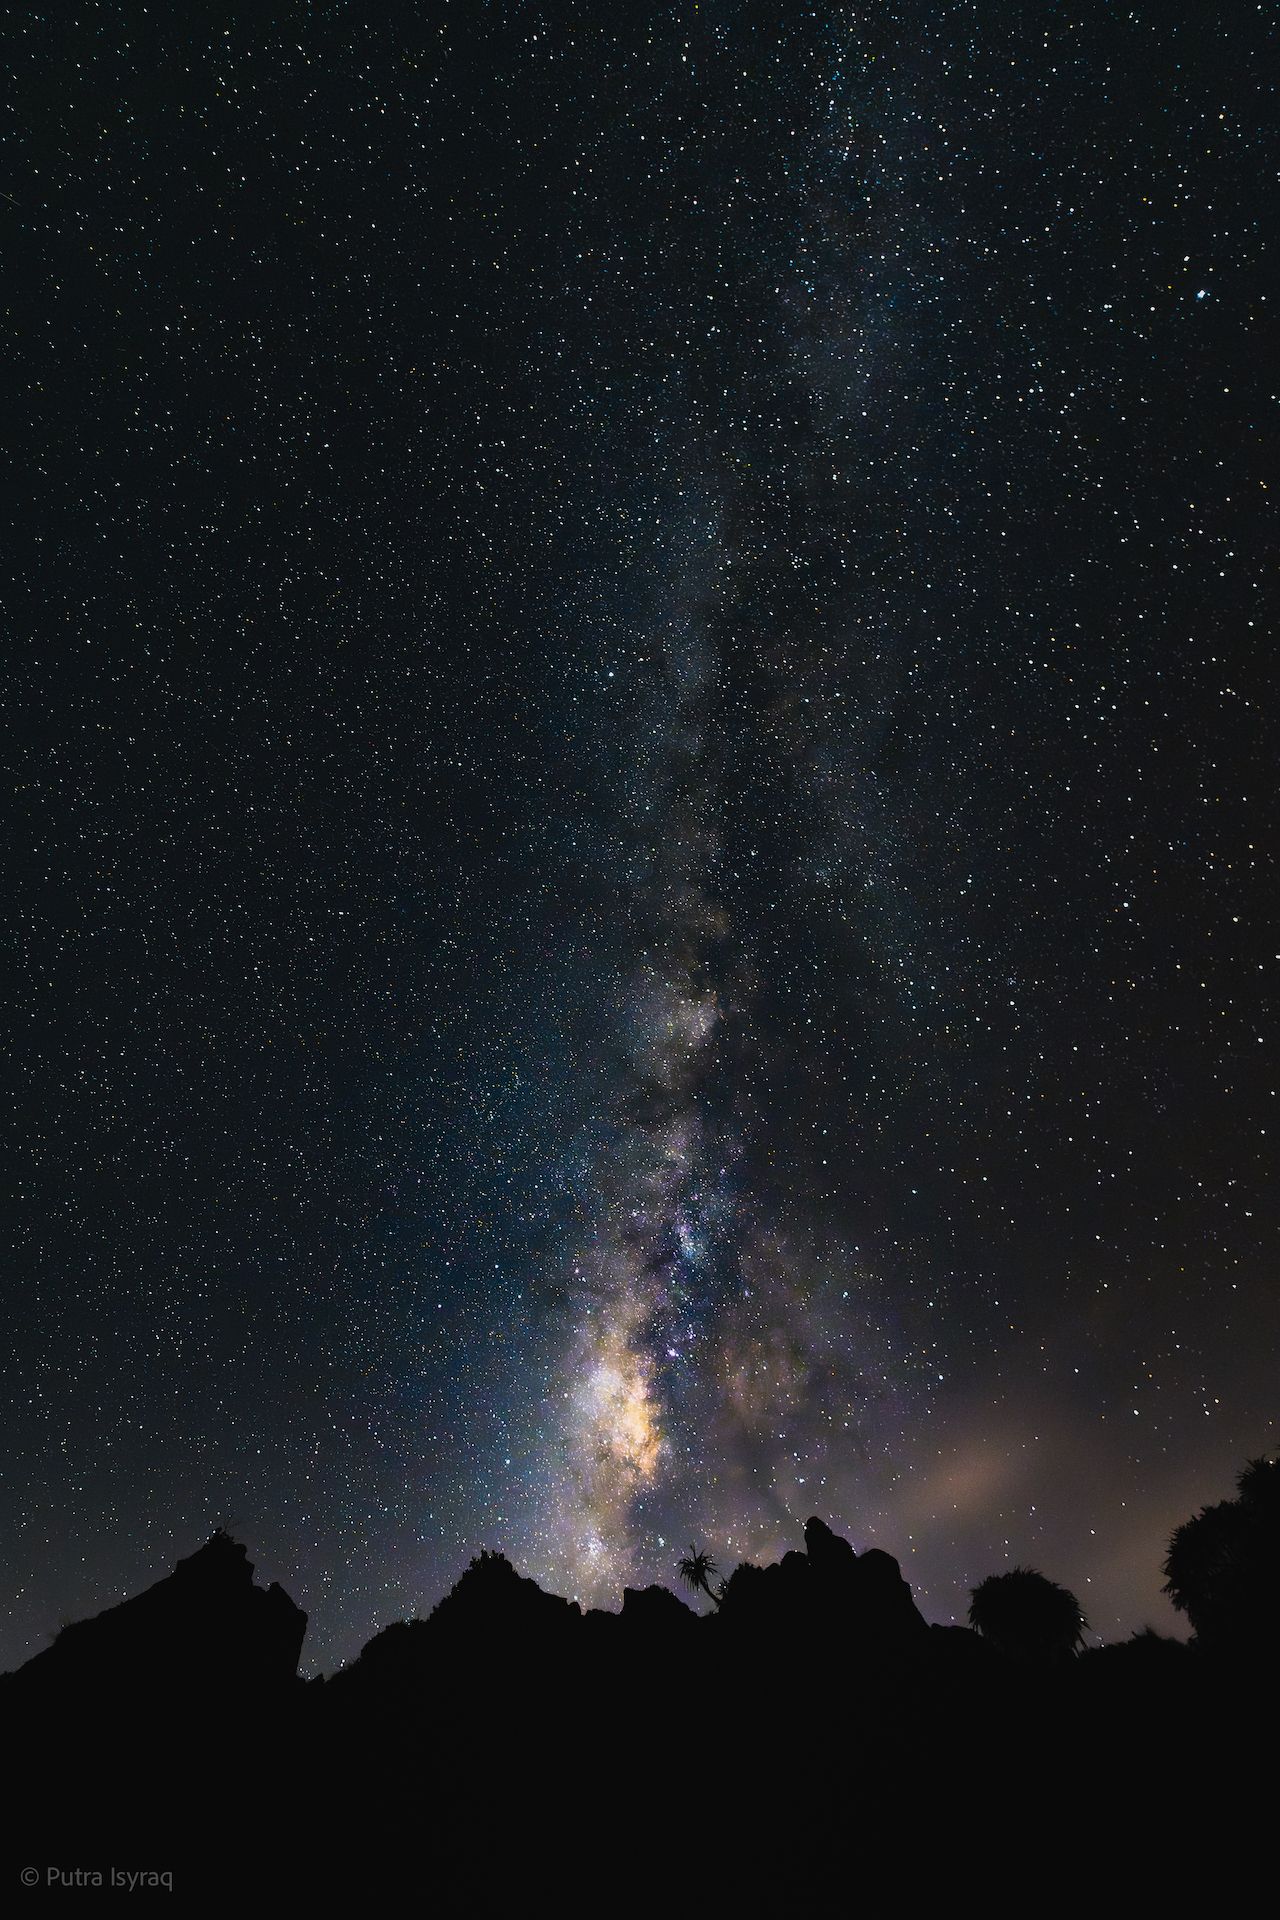
I learnt a lot from all these sessions. Look at my before and after:
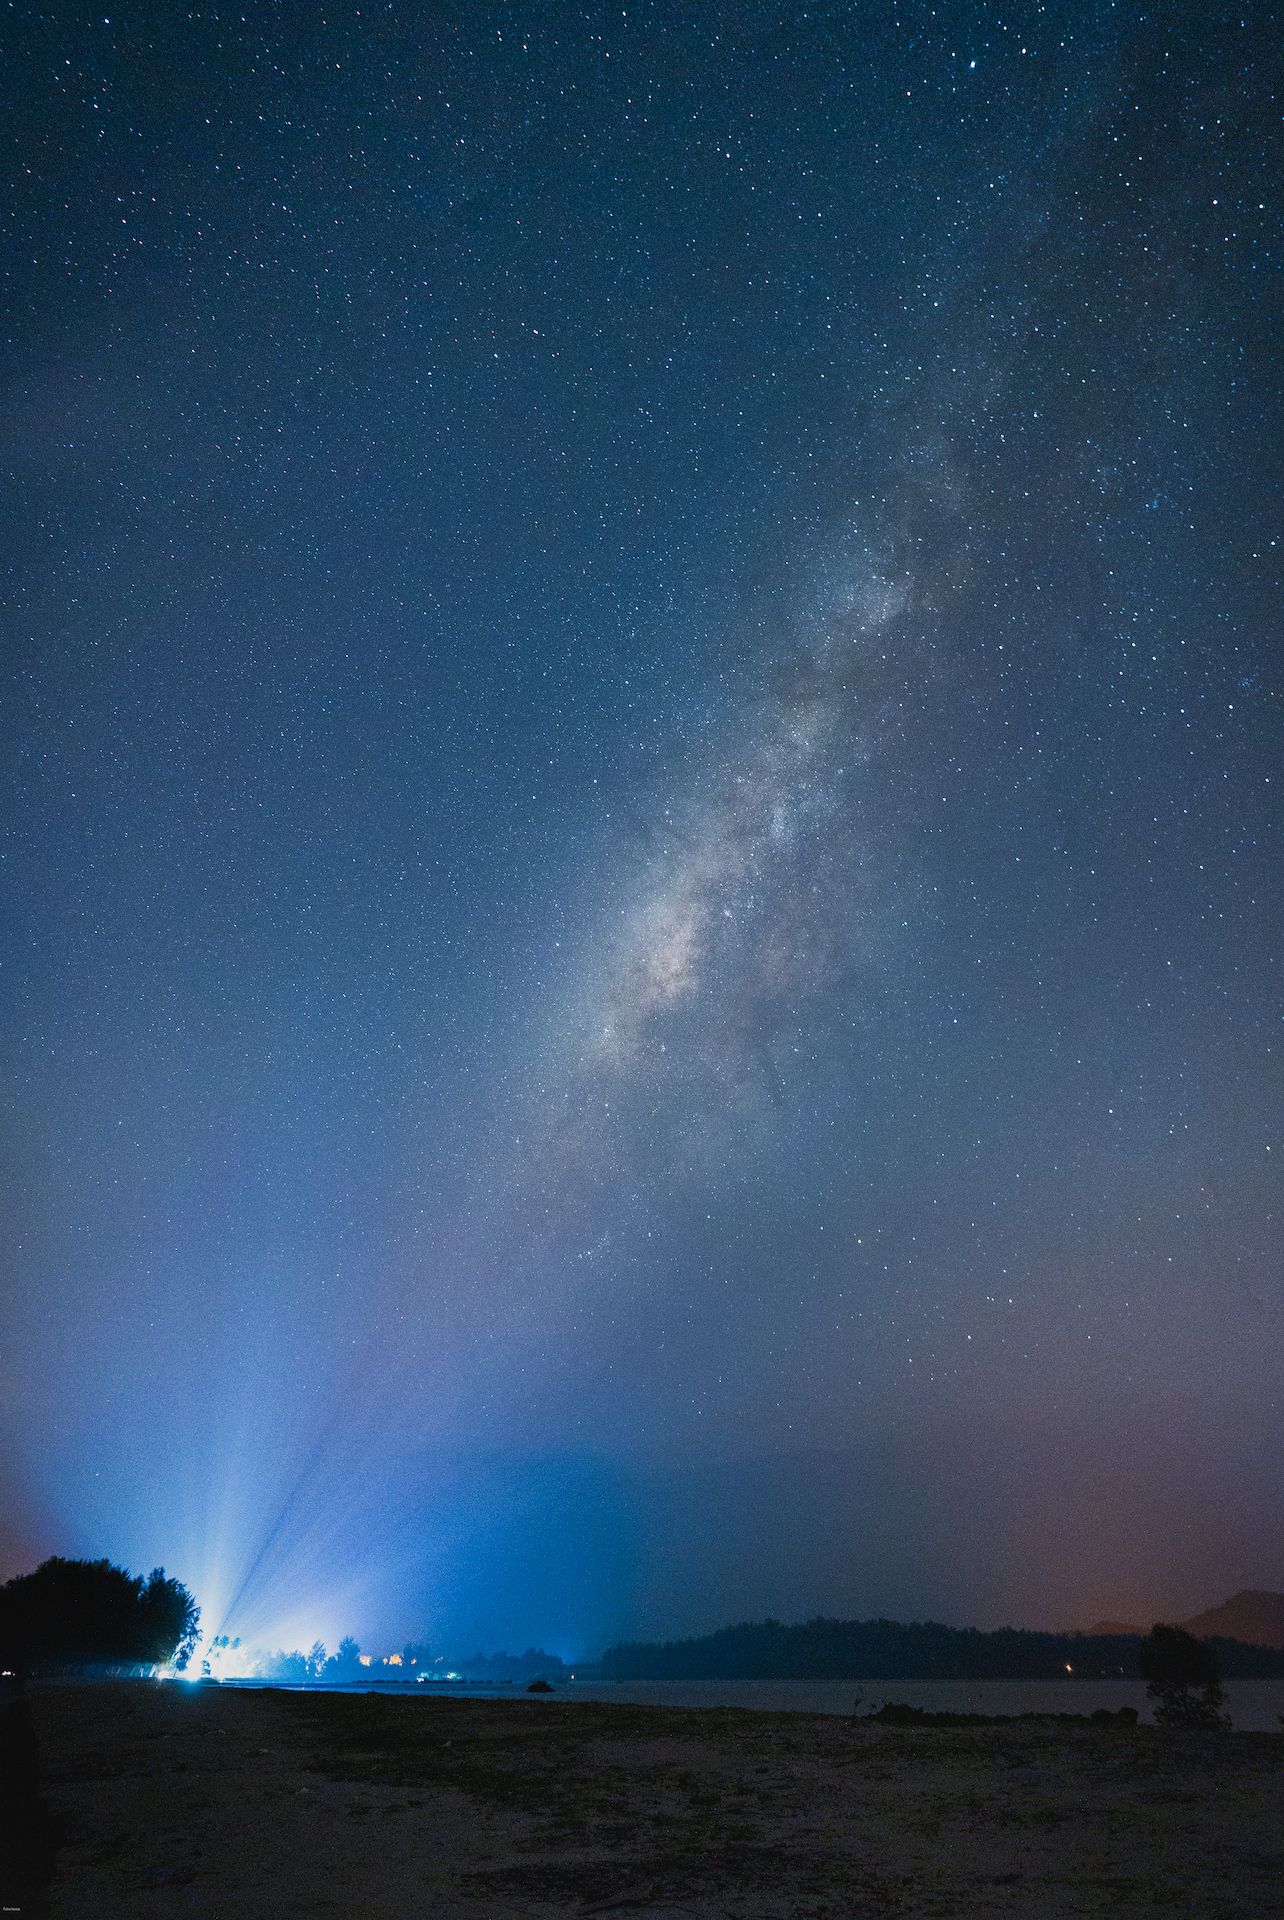

Left: Before • Right: After I learned editing from Grey
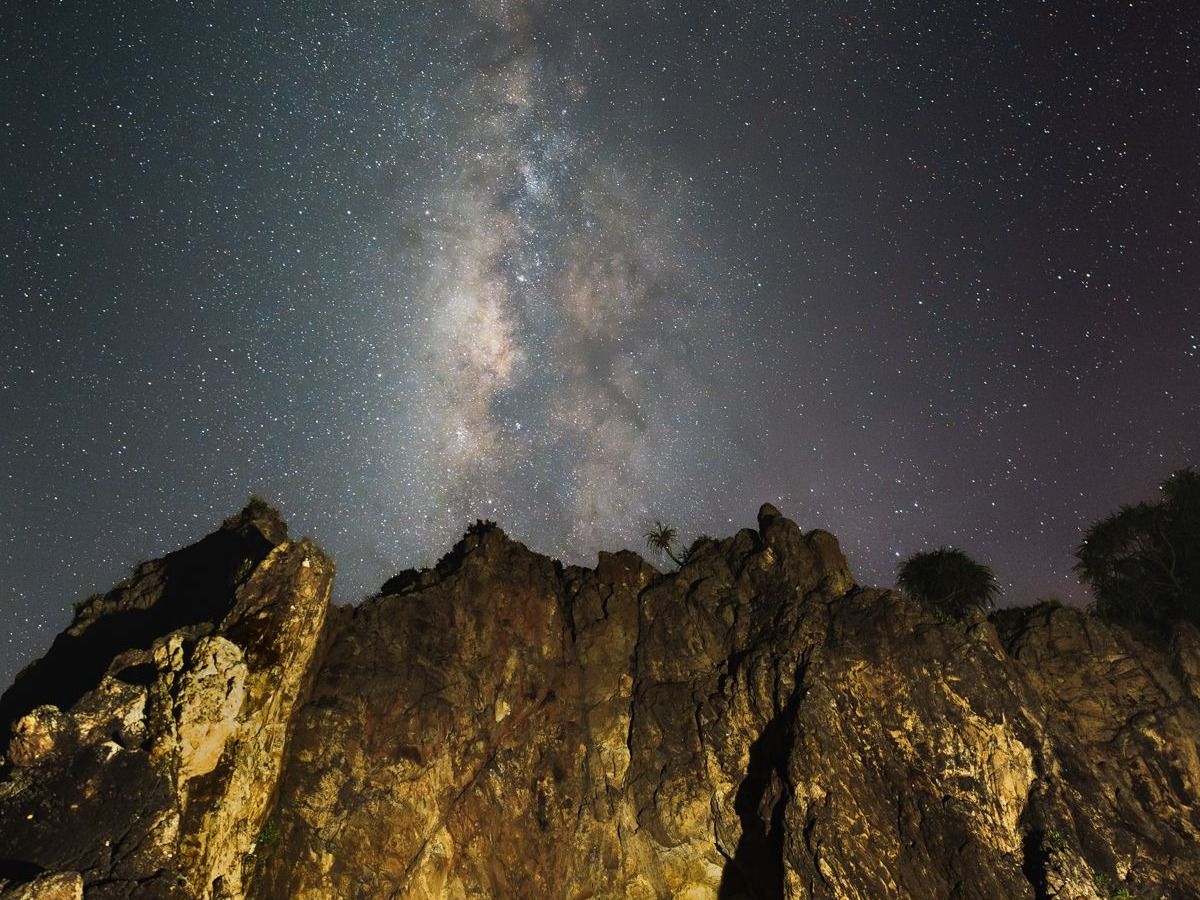
And here's another good one:

Check out my full gallery here:
Overall, it was an amazing experience. I have never thought I would never venture into astrophotography. But opportunity presents itself, I took it, and here we are.
Another aspect of this trip that I did not mention is that I made many photographer friends. Through them, I was inspired to get better at photography.
I have started to take photos, edit and publish them every day on my Instagram account, @putraisyraq.
Again, thanks to Sony Malaysia, Grey Chow and the organising team for bringing me this experience.
Thank you for reading. Subscribe to my newsletter if you haven't!




Member discussion